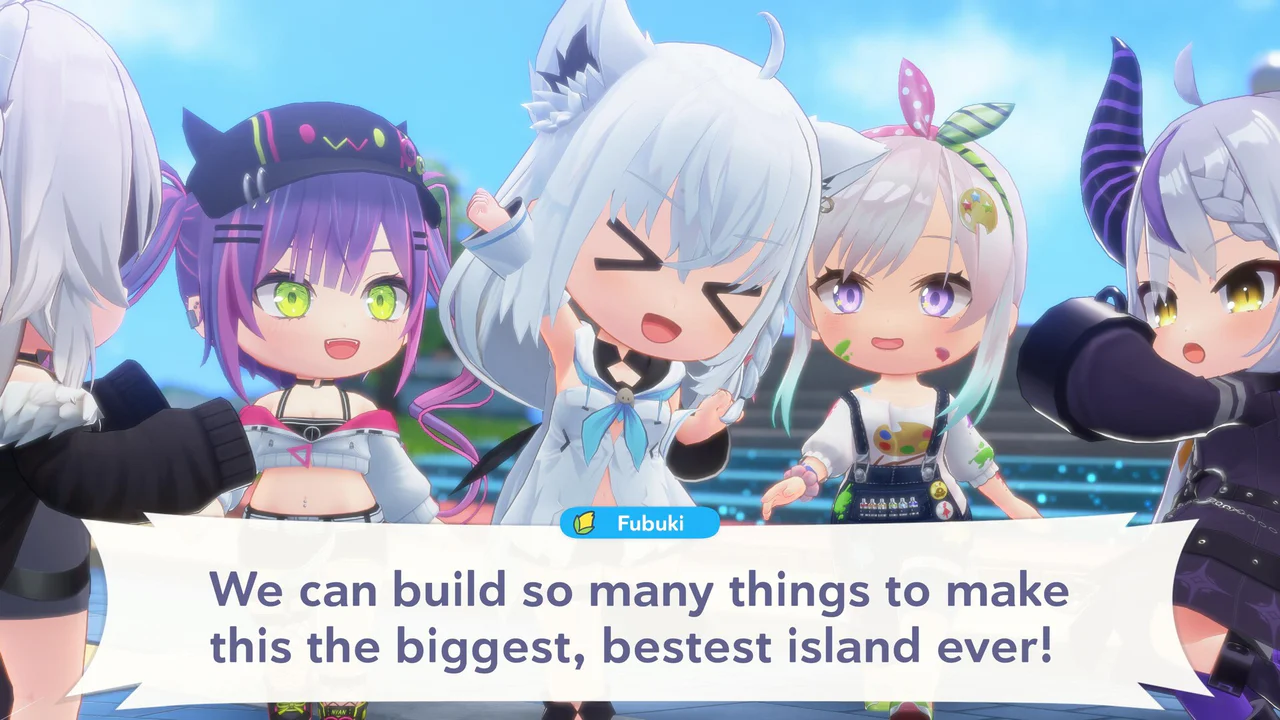
Choose a Leader and outfit
A talent becomes available as a Leader after that member's Holomem Quest is complete. If a favorite character is present in Dream Park but missing from the Leader selection, compare the quest state instead of assuming a roster error. The character database identifies the correct branch and generation for all 54 launch members, which helps locate the matching quest entry.
Special outfits can boost score according to the official training overview. The public page does not assign a permanent ranking to those outfits, so compare the effect text in the current client and the objective you are preparing to clear. An outfit selected for one team or activity does not establish a global tier. Treat it as one input alongside Leader choice and Board development.
Build the team from the objective backward. Read whether the quest asks for a rhythm score, park progress or another completion condition. For a score target, confirm that the chosen member appears in the Leader list, then read the effect on the currently equipped outfit and any alternative you own. Note the displayed values before switching. After the next attempt, compare the result against that single change. If the member is absent from the Leader list, stop adjusting outfits and finish the corresponding Holomem Quest first; leadership is gated by that completion state.
Read the four Skill Node types
The holomem Board contains four types of Skill Nodes. Unlocking nodes develops the member and supports higher performance, but the public overview presents the node categories visually without publishing every numeric value. Open the Board for the selected member and read the icon, effect text and connected path before spending a resource. That screen reflects the version and the member's current state.
A useful Board review follows the path rather than isolated totals: identify the next available node, read what it changes, inspect what lies behind it, and compare the result with the quest or score goal. The official copy encourages strategic growth paths, which means the order can matter. Avoid copying a layout from another member because the effect range and surrounding connections can differ.
Before unlocking a node, trace the visible route from the member's current position to that node and any later option behind it. Record the node type, its effect text and the resource requested by the client. Compare those details with the active objective rather than choosing solely by proximity. After unlocking it, reopen the Board and verify which path became available. This process is especially important when comparing two members: both Boards use four Skill Node types, but the surrounding layout and Connect Node coverage are character-specific.
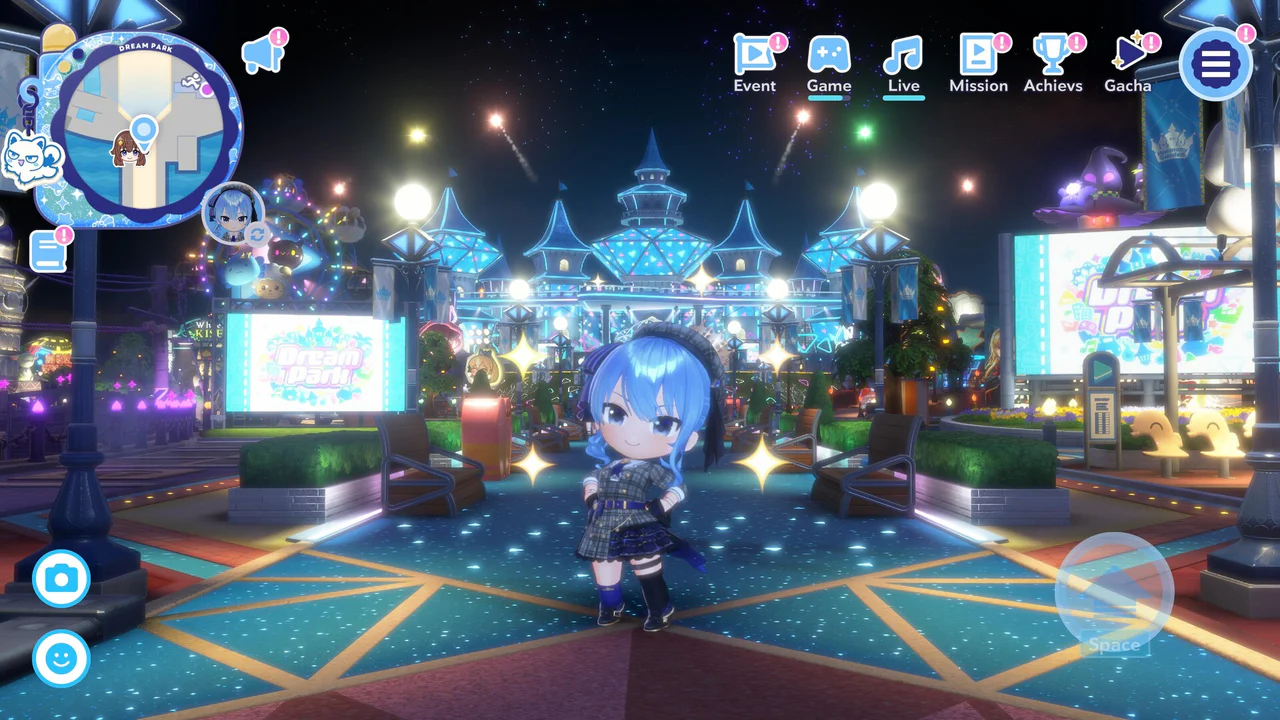
Place cards in Connect Nodes
Connect Nodes accept cards that raise skill effects. The official diagram highlights that effect ranges differ for each holomem. Before placing a card, use the range preview to see which neighboring nodes receive the boost. A position that reaches several relevant nodes for one member may cover a different pattern for another member.
Record the visible before-and-after change when comparing placements. That is more reliable than a launch-day claim about an invisible formula. The Board can then be reviewed beside Leader and outfit selection as one complete team setup. When a quest remains short of its goal, check whether the connected effects support the active member and objective before changing unrelated parts of the park.
Treat card placement as a coverage decision. Select the card, open the Connect Node preview and count only the highlighted Skill Nodes relevant to the intended setup. Cancel and inspect another available position if the preview reaches a less useful part of the current Board. Once placed, compare the affected node text with its state before placement and keep the result with the member name. Repeating this check for each holomem prevents a working layout on one Board from being copied into a different effect range on another.
Frequently asked questions
How do I unlock a Leader?
Complete that talent's Holomem Quest. The official Team and Training panel names quest completion as the requirement for making each member available as a Leader. If the member already appears in Dream Park but not in the Leader list, check that specific quest's completion state before changing the team.
How many Skill Node types are on the holomem Board?
The official system overview states that there are four types of Skill Nodes. Their exact effects and the path available to a particular member should be read on that member's Board in the current client. The shared count does not mean every member has an identical surrounding layout.
Do Connect Node ranges stay the same for every holomem?
No. Effect ranges differ for each member. Use the Board's range preview before placing a card so the selected Connect Node reaches the skill effects intended for that member and team setup. Recheck the preview when moving to another holomem instead of copying the previous placement.